Old photographs can collect scratches from years of handling, poor storage, dust, friction, and repeated scanning. A scratch may appear as a thin white line, a dark streak, or a long strip where the original photo surface has been worn away.
The good news is that many scratches can be repaired digitally. In this guide, you will learn how to remove scratches from old photos using three practical methods: AI photo restoration, Adobe Photoshop, and online photo repair tools. AI is usually the easiest option for beginners, while Photoshop gives you more control over difficult repairs.
The best results start with a good scan and a realistic expectation. Light scratches are often easy to clean up. Deep scratches that cross faces or remove important details may need a combination of AI reconstruction and manual editing.
Can You Remove Scratches from Old Photos?
Yes. You can remove scratches from old photos digitally without changing the original print. Restoration software analyzes the surrounding image and either blends clean pixels over the damaged area or reconstructs details that are partly missing.
The difficulty depends on the size, depth, and location of the damage:
| Damage type | Typical difficulty | Recommended approach |
|---|---|---|
| Light surface scratches | Low | AI restoration or a healing brush |
| Several thin scratches | Low to medium | AI restoration followed by a quick review |
| Deep or wide scratches | Medium to high | AI reconstruction plus Photoshop cleanup |
| Scratches across faces or text | High | Review the result carefully and correct important details manually |
| Missing sections of the photo | High | Use a professional restoration workflow and treat reconstructed details as an approximation |
So, can old damaged photos be restored? In many cases, yes. However, digital restoration cannot recover information that was never captured in the scan. A tool may create a natural-looking reconstruction, but you should always compare it with the original photo and keep an untouched backup.
Before You Start: Identify the Damage
Not every mark on an old photo is a scratch. Correctly identifying the damage helps you choose the right workflow and prevents unnecessary processing.
| What you see | Most likely problem | Useful next step |
|---|---|---|
| Thin lines or long streaks | Scratches or surface abrasion | Use a scratch removal workflow |
| Small dots or specks | Dust or scanner particles | Try removing dust from photos |
| Brown or yellow patches | Stains, water marks, or foxing | Try removing photo stains |
| Missing corners or jagged edges | Tears or physical damage | See how to repair torn photos |
| Low contrast or washed-out color | Fading | See how to restore faded photos |
If the photograph has several types of damage, repair the most visible physical damage first. You can then decide whether it also needs color restoration, sharpening, or upscaling.
How to Remove Scratches from Old Photos
There is no single best method for every photograph. The right choice depends on how much control you want, how severe the scratches are, and whether you want to edit the image manually. If you are searching for how to fix scratches on old photos, start by matching the method to the type of damage.
Method 1: Remove Scratches from Old Photos with AI
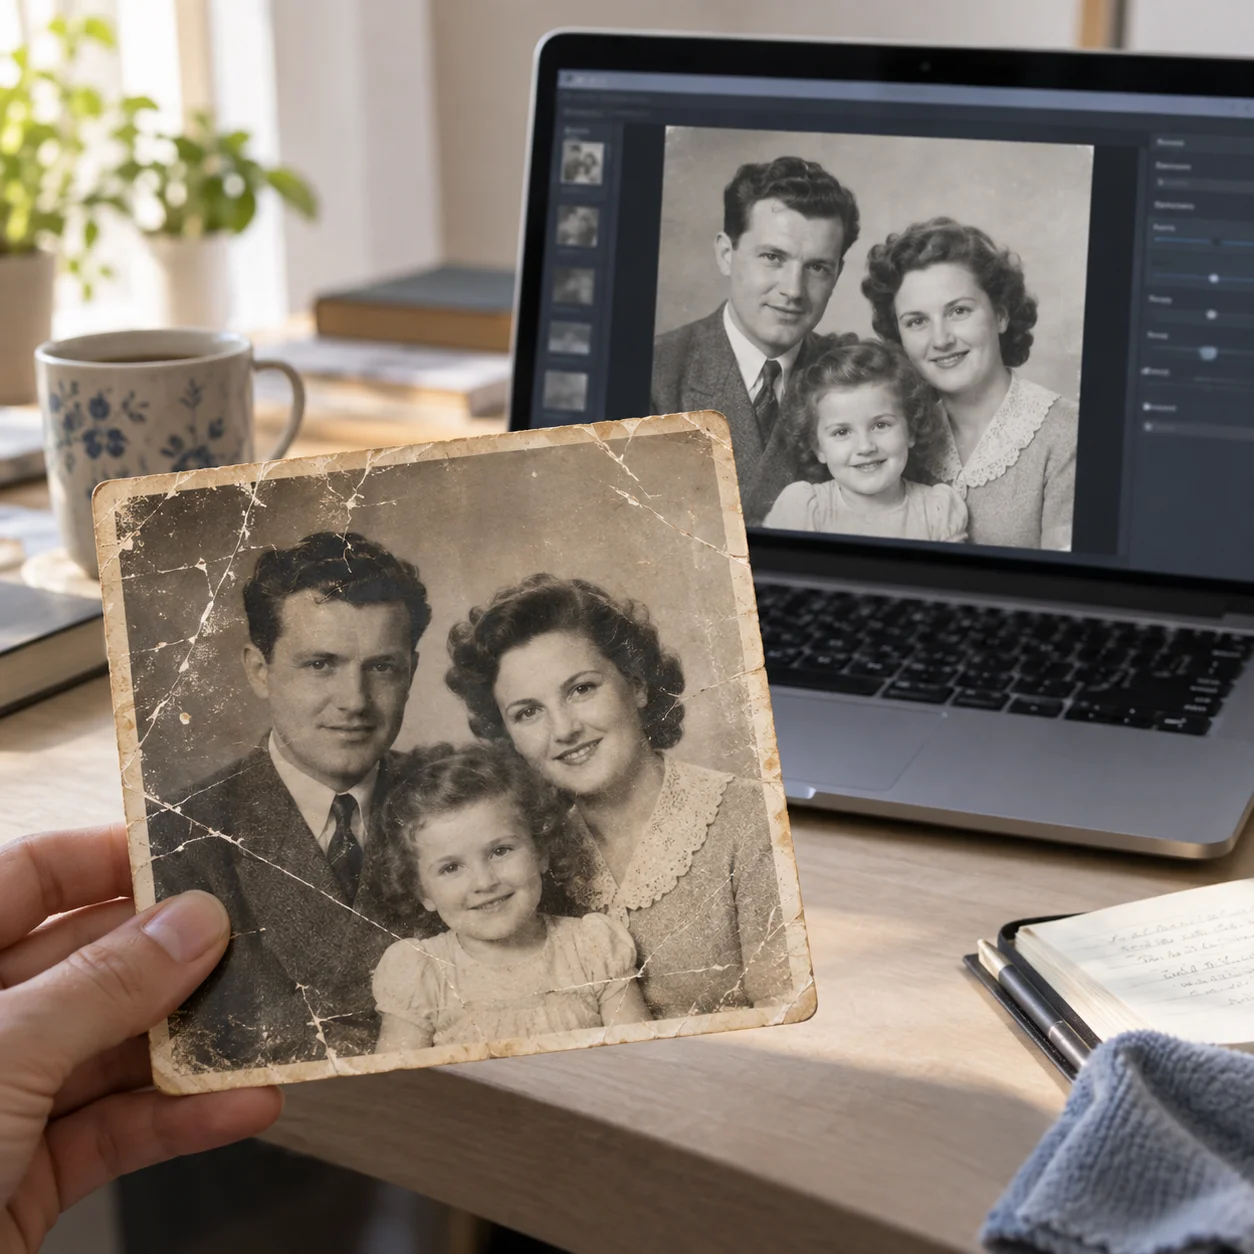
AI restoration is often the fastest way to repair scratched old photos. It is especially useful when a photograph has many scratches, uneven surface damage, or marks that would take a long time to edit one by one. This is the workflow many people mean when they search for "remove scratches from old photos AI": upload, analyze, review, and download.
Step 1: Upload a Clear Scan
Start with the highest-quality digital copy available. If you only have a physical print, scan it before using an online tool. A sharp scan gives the AI more texture and detail to work with.
Step 2: Let the AI Detect Damaged Areas
The restoration model analyzes the image and looks for patterns that do not match the surrounding photo. It may detect scratches, dust, cracks, fading, and other surface damage in the same pass.
Step 3: Review the Restored Image
Do not judge the result only at a small preview size. Zoom in on faces, eyes, hair, hands, clothing patterns, and any objects crossed by a scratch. AI can remove the visible line while also changing a nearby detail, so a careful review is important.
Step 4: Download a Separate Copy
Keep the original scan unchanged and download the restored version as a new file. If you plan to make additional edits, keep a high-quality master copy and create smaller copies for sharing.
For people who want to remove scratches from old photos automatically, AI is usually the simplest starting point. You can try our AI photo scratch removal tool when you want to upload a photo, process the damage, and review the result online.
AI can be particularly helpful for an AI old photo restore workflow, but the result should still be checked by a person. The model is estimating damaged areas; it is not looking at another original photograph of the same moment.
Method 2: Remove Scratches from Old Photos in Photoshop
Photoshop is a good choice when you want precise control over each scratch. It takes more time than an automatic tool, but it lets you decide exactly which details to preserve.
This is the basic workflow for how to remove scratches from old photos in Photoshop. If you are searching for how to remove scratches from old photos Photoshop, follow these steps:
1. Open the Scanned Photo
Open the highest-resolution scan you have. If the image is very large, save a working copy before editing so the original scan remains untouched.
2. Duplicate the Original Layer
Create a duplicate of the background layer and work on the copy. You can also create a blank retouching layer and select sample settings that allow Photoshop to work across layers. This makes it easier to compare the repair with the original.
3. Use the Spot Healing Brush for Small Scratches
The Spot Healing Brush is useful for short, isolated scratches and small dust marks. Choose a brush that is slightly wider than the damaged line, then paint over a short section at a time. Avoid dragging across an entire face or a detailed pattern in one stroke.
4. Use the Clone Stamp for Larger Scratches
For a wide or irregular scratch, the Clone Stamp gives you more control. Sample a clean area near the damage, then paint with a soft brush at a lower opacity. Resample often so the texture does not become repetitive or visibly copied.
Follow the direction of nearby fabric, hair, wood grain, or background texture. A repair that uses the wrong texture direction can be more noticeable than the original scratch.
5. Check Faces and Important Details
Zoom in to inspect eyes, facial outlines, fingers, jewelry, lettering, and other meaningful details. If a scratch crosses a face, use several small strokes instead of one large correction. Compare the edited layer with the original frequently.
6. Save the Restored Image Separately
Save the layered working file if you may need to make more changes. Then export a separate JPEG or WebP copy for sharing. Never overwrite the only copy of the original scan.
Photoshop works well for users searching for how to remove scratches from a photo in Photoshop or how to restore old damaged photos with manual control. It also covers the common query "how to remove scratches from photo in photoshop" when one image has a main damaged area. It is less convenient if you have a large collection of photographs and want a fast, mostly automatic process.
Method 3: Remove Scratches Online
Online photo repair tools are useful when you do not want to install software. The usual workflow is simple:
- Open an online restoration tool.
- Upload the scanned photo.
- Select scratch removal or photo restoration.
- Compare the original and processed preview.
- Download the result and save it as a separate copy.
Some online services use AI, while others combine automatic restoration with basic editing controls. If you are searching for remove scratches from old photos online, check whether the service supports the image size and file type you have.
Free options can be useful for testing, but remove scratches from old photos online free and remove scratches from photos online free services may have limits such as:
- Watermarks on the downloaded image
- Maximum file size or resolution
- A limited number of free restorations
- Slower processing during busy periods
- Reduced download quality
- Required account creation
Before uploading a private family photo, review the service's privacy and retention information. For a quick repair, an online tool can be convenient. For a large archive or sensitive images, a local workflow may be more appropriate.
Which Scratch Removal Method Should You Use?
Use this comparison to choose a starting point:
| Your situation | Best starting point | Why |
|---|---|---|
| You are new to photo editing | AI restoration | Minimal manual work and a simple upload workflow |
| The photo has many visible scratches | AI restoration | Multiple damaged areas can be processed together |
| You need to repair one small line | Photoshop | A healing or clone tool can make a precise correction |
| A scratch crosses a face or important object | AI plus manual review | AI can help reconstruct the area, while manual editing gives you control |
| You need a quick repair without installing software | Online tool | Works in a browser and is easy to test |
| You have many photos to process | Batch-capable software or a repeatable AI workflow | More efficient than editing every scratch by hand |
For most beginners, start with AI, inspect the result, and use Photoshop only when the automatic result needs additional correction.
How to Remove Deep Scratches from Old Photos
Deep scratches are harder to repair because they may remove the original emulsion, not just leave a mark on the surface. The challenge becomes greater when a scratch crosses a face, eye, hand, patterned clothing, or an object that carries important context.
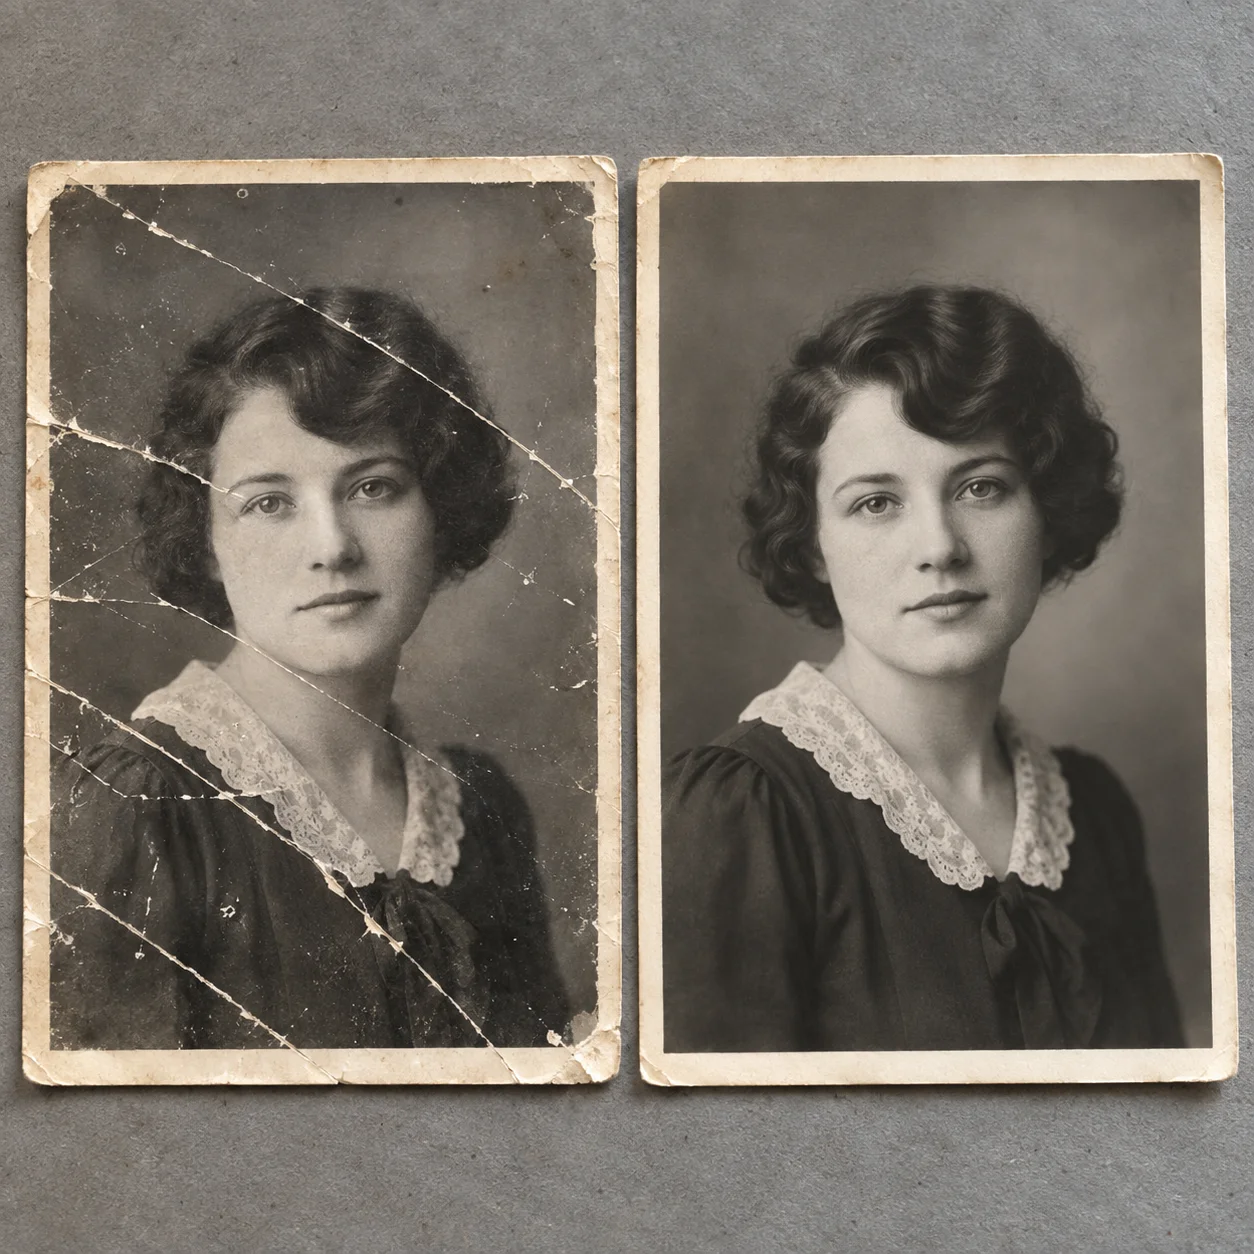
When you need to fix scratches on old photos with severe damage, use this process. This workflow can help restore old scratched photos when the damage is extensive:
- Scan the photo at a high resolution and keep the original scan.
- Run an AI restoration pass to reduce the most obvious damage.
- Inspect every reconstructed area at full size.
- Use Photoshop or another editor to correct unnatural edges and repeated textures.
- Compare the final image with the original before exporting.
AI can rebuild a plausible background or clothing texture, but it may not know the exact detail that was hidden by the scratch. Manual editing is more precise when you have a nearby reference area. If a large part of the image is missing, consider the result a restoration interpretation rather than a perfect recovery.
For photos with many lines or damaged areas, you can also try our old photo scratch removal tool before deciding whether further manual work is needed.
Tips for Better Scratch Removal Results
Use a High-Quality Scan
Scan the original at the highest practical resolution. Avoid glare, shadows, reflections, and fingerprints on the scanner glass. Place the photograph flat and aligned so the image is not stretched or cropped.
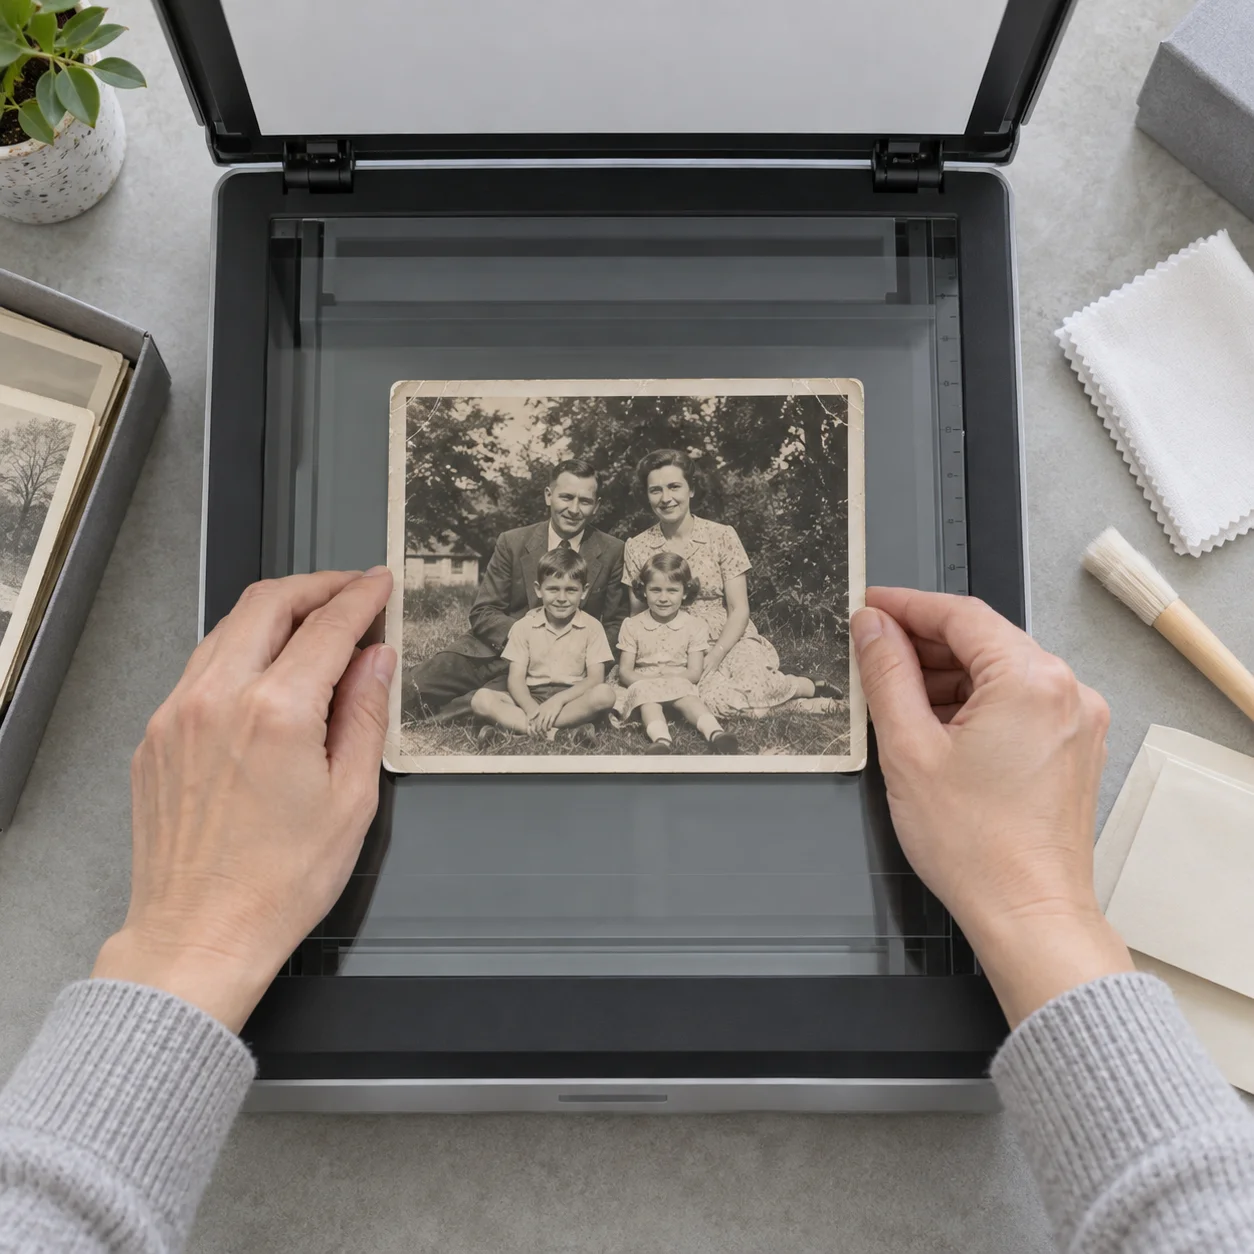
If you are learning how to remove scratches from a scanned photo, remember that a poor scan can make restoration harder. Clean the scanner glass, use even lighting, and avoid aggressive compression before you begin.
Keep the Original Photo and Scan
Keep an untouched physical print and an unedited digital scan. Make a duplicate before using AI, Photoshop, or an online photo repair service.
Check Faces Carefully
Faces contain high-value visual details, and AI tools may smooth or reconstruct them differently from the original. Compare the eyes, mouth, jawline, hairline, and distinctive marks before accepting the result.
Restore Before Upscaling
Repair scratches and other physical damage before enlarging or sharpening the image. Upscaling first can make scratches and dust more prominent and may cause an enhancement tool to treat the damage as real detail.
Work at More Than One Zoom Level
At 100% zoom, you can see whether the texture looks natural. At a smaller zoom level, you can check whether the photograph still looks balanced and authentic. A repair that looks perfect up close may still create an unwanted blur or halo when viewed normally.
Preserve the Character of the Photograph
Do not remove every sign of age automatically. Natural grain, paper texture, and small tonal variations can be part of the photograph's character. The goal is to remove distracting damage while keeping the image believable.
Frequently Asked Questions
Can I Remove Scratches from Old Photos for Free?
Yes, you can test some free online and AI photo restoration options. However, a free photo repair online service may limit resolution, add a watermark, restrict the number of images, or require an account. Check the output before deciding whether it is suitable for printing or archiving.
Can AI Remove Scratches from Old Photos?
Yes. AI can detect many light and medium scratches and reconstruct nearby texture automatically. It is especially useful for users who want to remove scratches from old photos with minimal manual editing. Always inspect faces and important details because an AI result is an estimated reconstruction.
Can Photoshop Remove Scratches from Old Photos?
Yes. Photoshop can remove small scratches with the Spot Healing Brush and repair larger or more complex areas with the Clone Stamp, Healing Brush, and related retouching tools. Photoshop requires more time and editing experience, but it provides more control over the final result.
Can Severely Damaged Old Photos Be Restored?
Severely damaged old photos can often be improved, but the result depends on how much original information remains. AI and manual tools can make a damaged image look more coherent, but they cannot recover details that were never captured. Photos with large missing sections may need professional restoration.
Can I Remove Scratches from an Old Photo Without Photoshop?
Yes. AI restoration and online photo repair tools can remove many scratches without Photoshop. They are often easier for beginners and faster for multiple damaged areas. If you need exact control over a face, pattern, or missing detail, a manual editor may still be helpful.
What Is the Best Way to Remove Scratches from Old Pictures?
For most people, the best way to remove scratches from old pictures is to start with a high-quality scan, use an AI restoration tool, and then review the result carefully. Use Photoshop for precise corrections when the AI output changes important details or leaves visible artifacts.
Conclusion
You can remove scratches from old photos with AI restoration, Photoshop, or an online repair tool. AI is usually the easiest option for beginners and works well when a photo has many scratches. Photoshop is better when you need precise control over individual lines or damaged details. Online tools are convenient when you want to repair a photo without installing software.
Whatever method you choose, start with a clean, high-quality scan, keep the original image safe, and review faces and important details before sharing the restored copy.
If you want a simple way to repair scratched old photos, try our AI photo scratch removal tool.